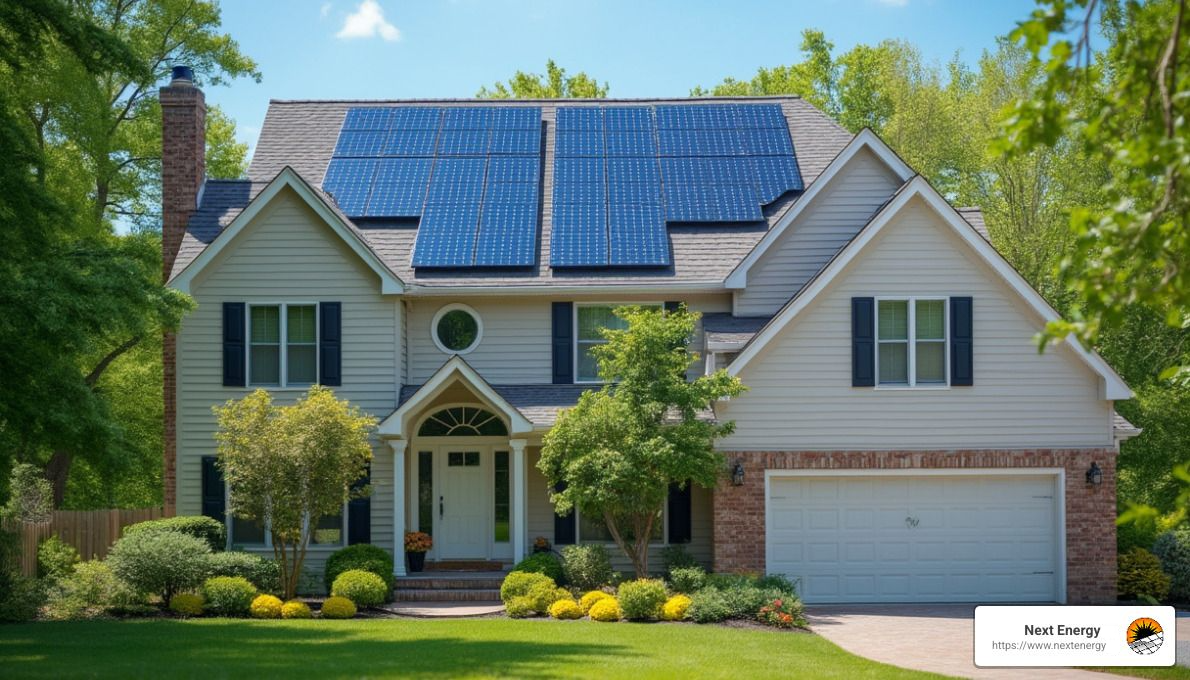
How to Wire Solar Panels: A Complete Home Installation Guide
How to Wire Solar Panels: A Complete Home Installation Guide
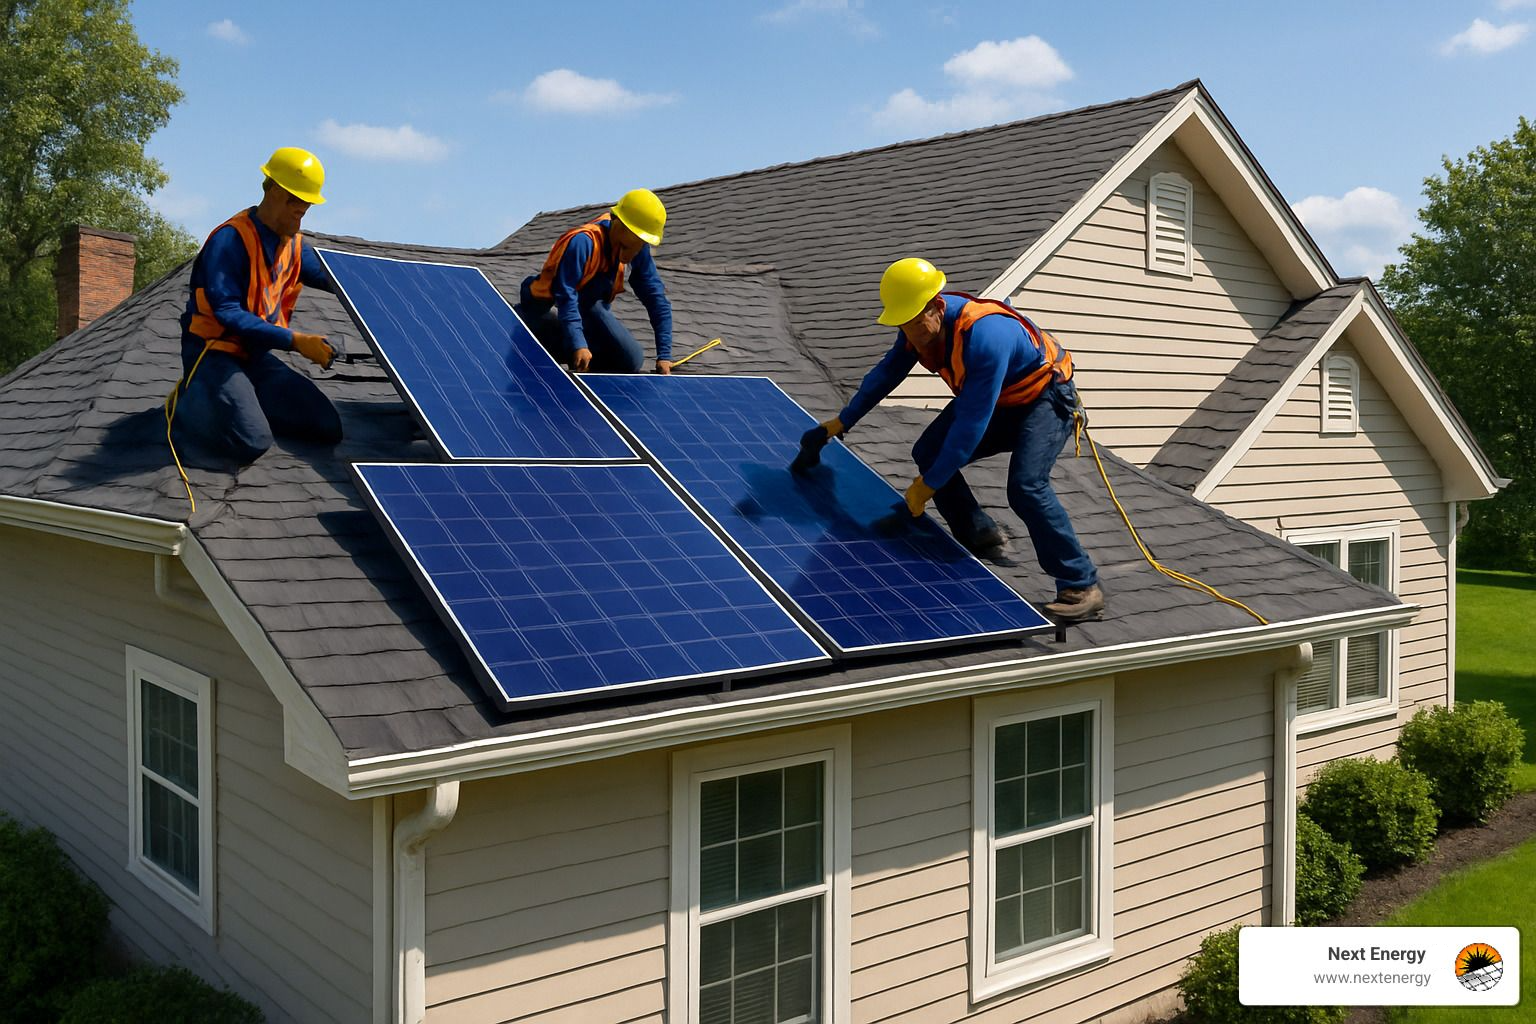
Not long ago, we got a call from a homeowner in Wellington, CO, who was frustrated after trying a DIY solar panel setup. The panels were mounted properly, but nothing was producing power. After a quick inspection, we realized the issue wasn’t the panels themselves—it was the wiring. Misconnected terminals, mismatched gauge wires, and a missing inverter connection made the entire system useless.
According to the U.S. Department of Energy, even a small wiring mistake can reduce a solar system's efficiency by up to 30%. Worse, improper wiring can lead to short circuits, fires, or damage to your home’s electrical system. That's why understanding how to wire solar panels safely and correctly is just as important as picking the right equipment.
Whether you’re a hands-on homeowner or someone researching what to expect from a professional install, this solar panel installation wiring guide will break down everything you need to know in simple, clear steps.
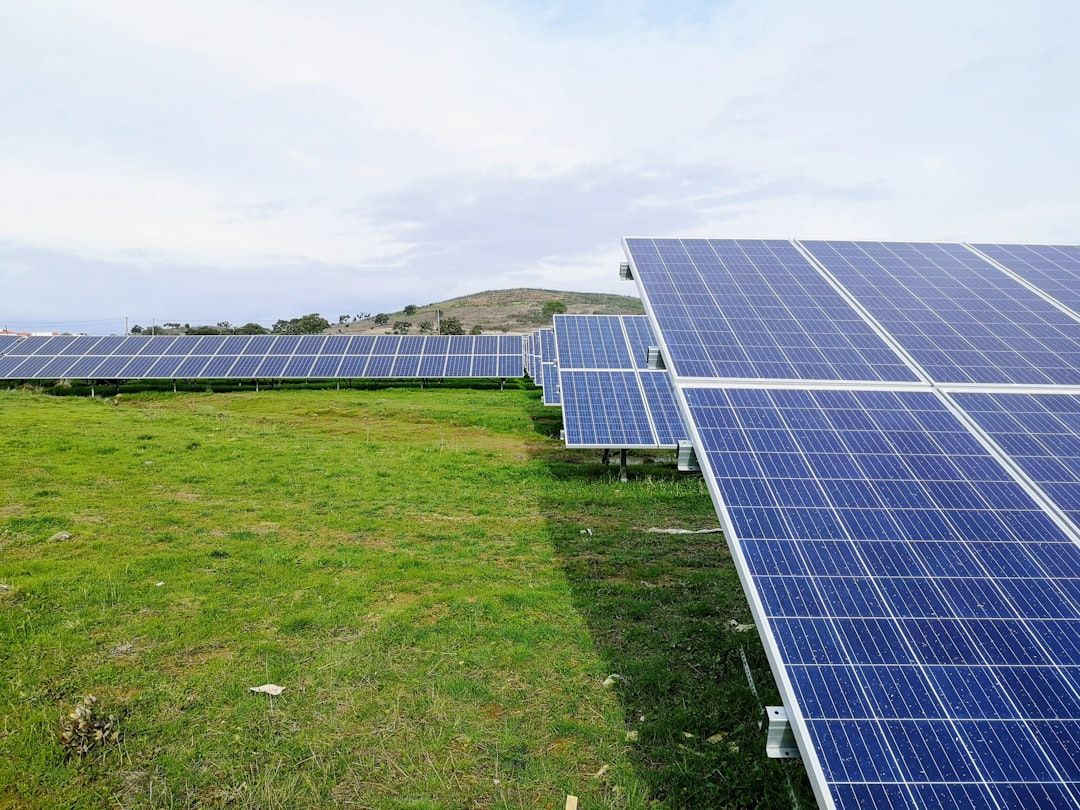
Understand Your Wiring Options: Series vs. Parallel
Before you touch any wires, it’s crucial to understand how different wiring setups affect your system’s performance. The way you wire your solar panels together changes the total voltage, current, and how your system responds to shade.
Series Wiring
This setup connects the positive terminal of one panel to the negative terminal of the next, forming a single electrical path. The voltages of each panel add up, while the current remains the same as a single panel. Series wiring is great when you want high voltage and when all your panels get equal sunlight.
Parallel Wiring
In this configuration, all positive terminals are linked together and all negative terminals are linked. The voltage stays the same as one panel, but the current increases. This is useful in partially shaded systems because one underperforming panel won’t bring down the whole array.
What to Choose in Wellington
Many homes in Wellington benefit from a series-parallel hybrid, especially when panels are split across different roof angles or sections. This design combines the strengths of both methods and offers stable output even during partial shading or cloudy days.
Choose the Right Wire Size and Type
Using the wrong wire can sabotage even the best-designed solar system. To ensure power flows safely and efficiently, you need to match your wire type and size to your system’s voltage and current demands.
Use PV-Rated Wires
PV wires are built specifically for solar panel systems. They’re sunlight-resistant, moisture-resistant, and made to handle the high temperatures and outdoor elements that regular wires can’t.
Match the Gauge to the Load
Choosing the correct wire gauge (thickness) is essential:
- 10 AWG works for small setups with short cable runs.
- 8 AWG or 6 AWG may be needed if the distance from your panels to your inverter is long or the current is high. Using wires that are too small causes voltage drops and overheating. A solar wire calculator or a consultation with a licensed installer can help you pick the exact right size.
Factor in Voltage Drop
If your wiring runs are more than 50 feet, calculate the voltage drop to avoid efficiency losses. Voltage drop should be less than 3% for optimal performance.
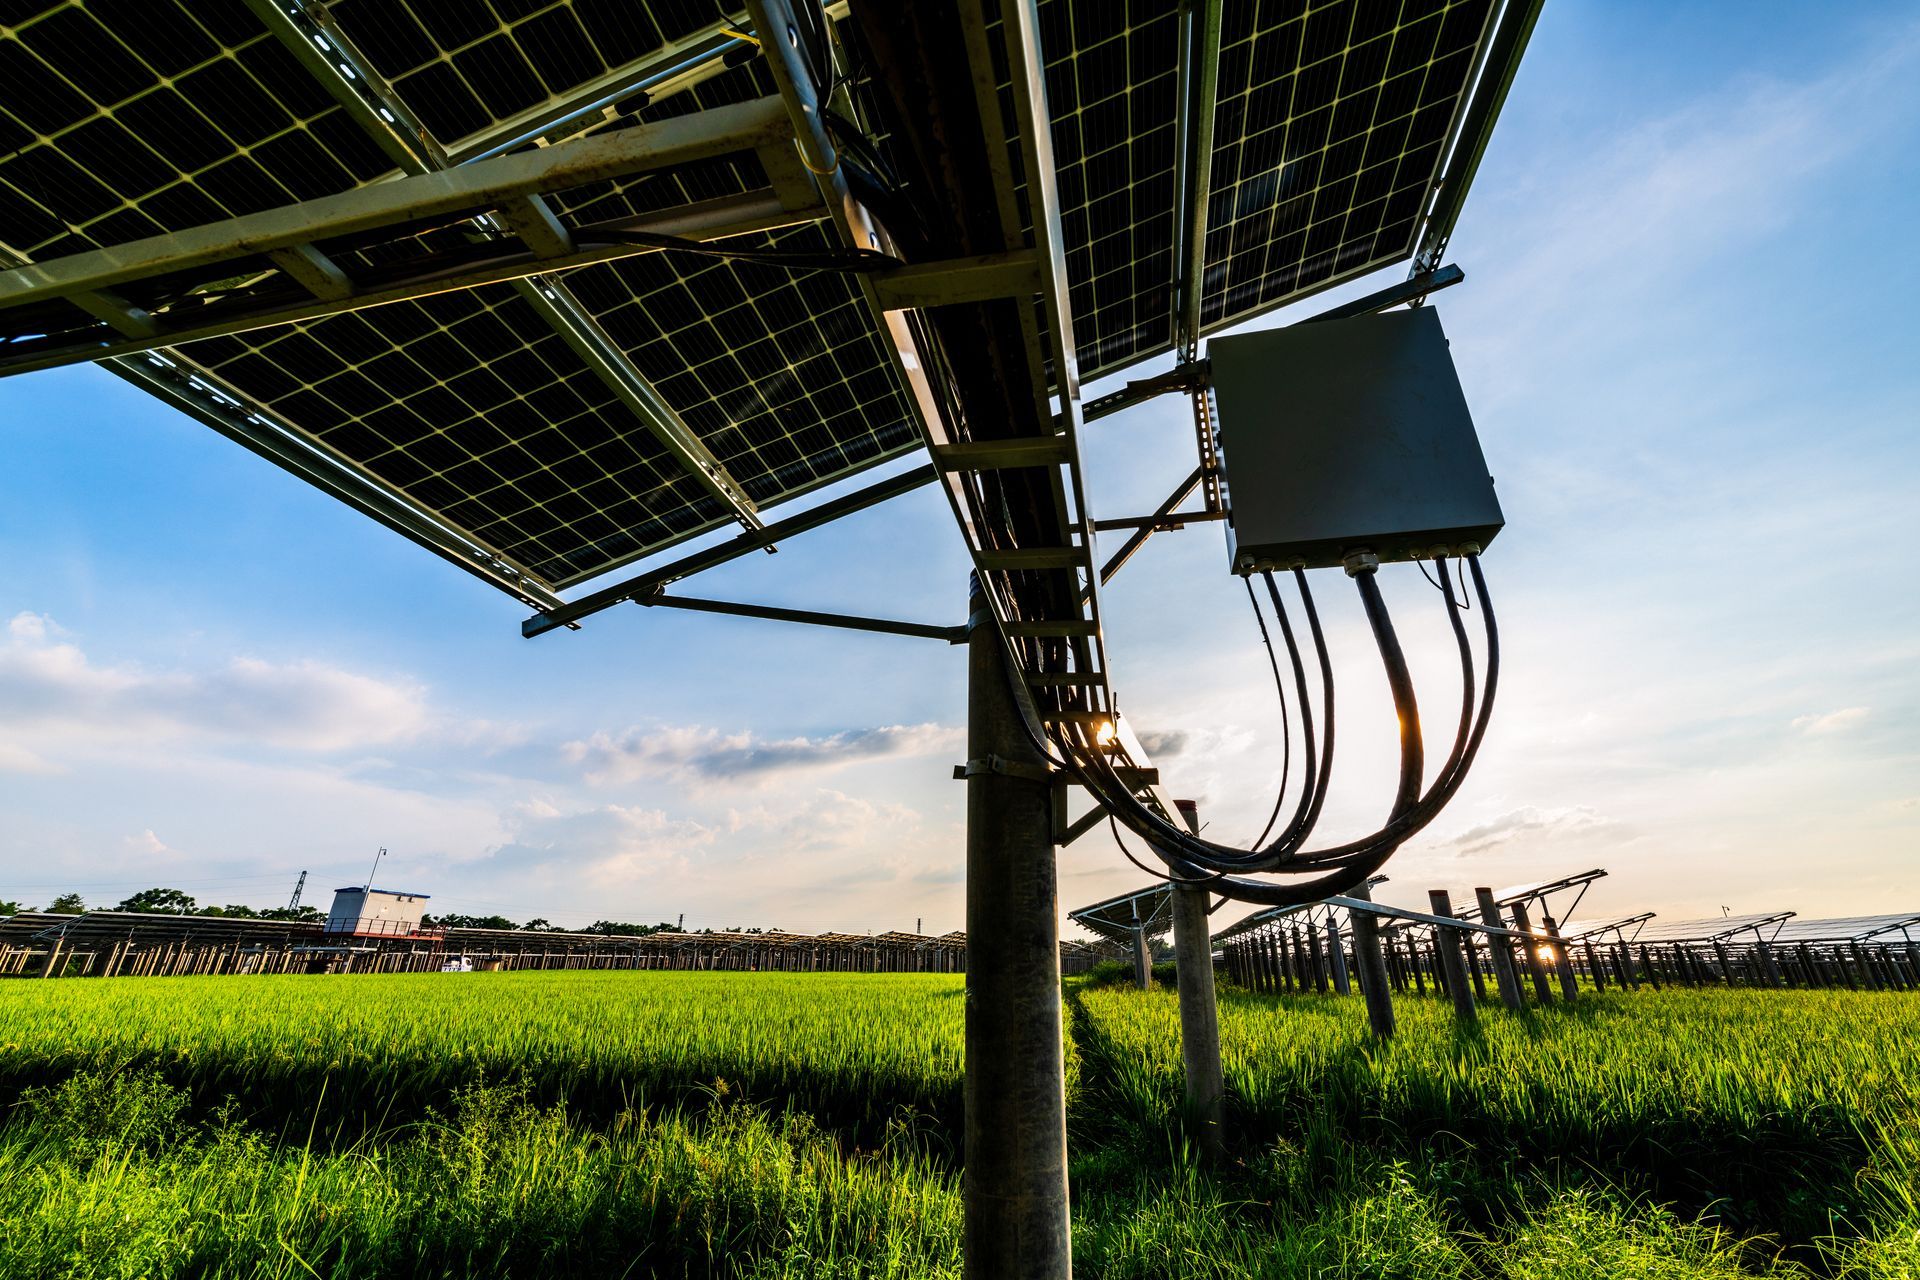
Protect the System with Proper Fuses and Breakers
Many DIY installers skip or underuse circuit protection. But every part of your solar setup—from the panels to the inverter—needs protection against surges and overloads.
Where to Place Them
You should install fuses and breakers:
- At each string of panels before they combine (via a combiner box).
- Between the combiner box and the charge controller or inverter.
- Between the charge controller and batteries (if using storage).
Match Fuse Ratings to System Specs
The fuse should be rated for about 125% of the expected current to avoid nuisance trips while still protecting your wires. Underrated fuses blow too often, and overrated fuses won’t protect anything.
Use DC-Rated Breakers
Most home panels run on DC before converting to AC. Be sure to use breakers specifically rated for DC current—AC breakers won’t work properly and can even become dangerous.
Connect to the Inverter Safely
The inverter is the heart of your system—it turns the solar energy (DC) into usable home electricity (AC). Making sure this connection is wired correctly is essential for performance and safety.
Double-Check Polarity
Crossed wires can instantly fry your inverter. Always confirm that the positive and negative lines are properly matched before turning anything on. Use a multimeter to test.
Use a DC Disconnect
This switch allows you to cut off power from the panels to the inverter. It’s required by code in most jurisdictions and helps protect you during maintenance or in case of an emergency.
Ground Your System
Proper grounding protects your home and system from electrical faults and lightning strikes. In many areas, local code requires specific grounding configurations, so always check with your city or have a pro handle it.
Use Conduit and Weatherproof Boxes
When wiring outside, run cables through conduit and use weather-rated junction boxes to keep moisture, pests, and UV light from damaging connections.
Label, Test, and Inspect Everything
Once everything is wired up, the final step is just as important as the rest: testing your system and labeling all components.
Label All Wires and Connections
Label every major part of the system—combiner boxes, strings, inverters, disconnects, and breakers. Use durable, weatherproof labels. This helps with future repairs, inspections, or system upgrades.
Test Voltage and Continuity
Using a multimeter:
- Measure voltage across each panel string to make sure they match expected outputs.
- Check continuity of each wire run to verify proper connections.
- Test ground continuity to confirm safe installation.
Final Inspection
Once you're done, get your system inspected by a licensed electrician or your local utility provider. Most cities (including Wellington) require this before connecting to the grid. They’ll confirm that your system is code-compliant and safe.
Frequently Asked Questions
- Do I need a permit to install solar panel wiring in Colorado?
Yes, most counties in Colorado, including Wellington, require permits and inspections for solar panel wiring to ensure safety and code compliance. - Can I expand my solar system wiring later if I add more panels?
Yes, but your wiring and inverter must be sized for future capacity; otherwise, you may need to upgrade components to handle the additional load. - What happens if my solar wiring gets wet or is exposed to snow?
If not sealed properly using conduit and weather-rated boxes, water can short the system or corrode connections, causing failure or safety hazards. - Can I wire solar panels without connecting to the grid?
Yes, this is called an off-grid system, and it typically includes batteries for energy storage along with charge controllers and standalone inverters.
How Next Energy Can Help You
At Next Energy, we specialize in designing and installing solar systems that are not only powerful but also safe and future-proof. We serve Wellington, CO and surrounding areas, helping homeowners avoid costly mistakes with expert installation and top-tier materials.
Here’s how we can help:
- Custom system design based on your home’s layout
- Professional installation by certified electricians
- Code-compliant wiring with fuses, disconnects, and grounding
- System testing and commissioning
- Ongoing support and maintenance
We believe clean energy should be simple, safe, and stress-free.
Call
Next Energy at 970 800 6398 or visit us at 6880 N. Franklin Ave. Loveland, CO 80538 to schedule your consultation today. Let us wire it right the first time.