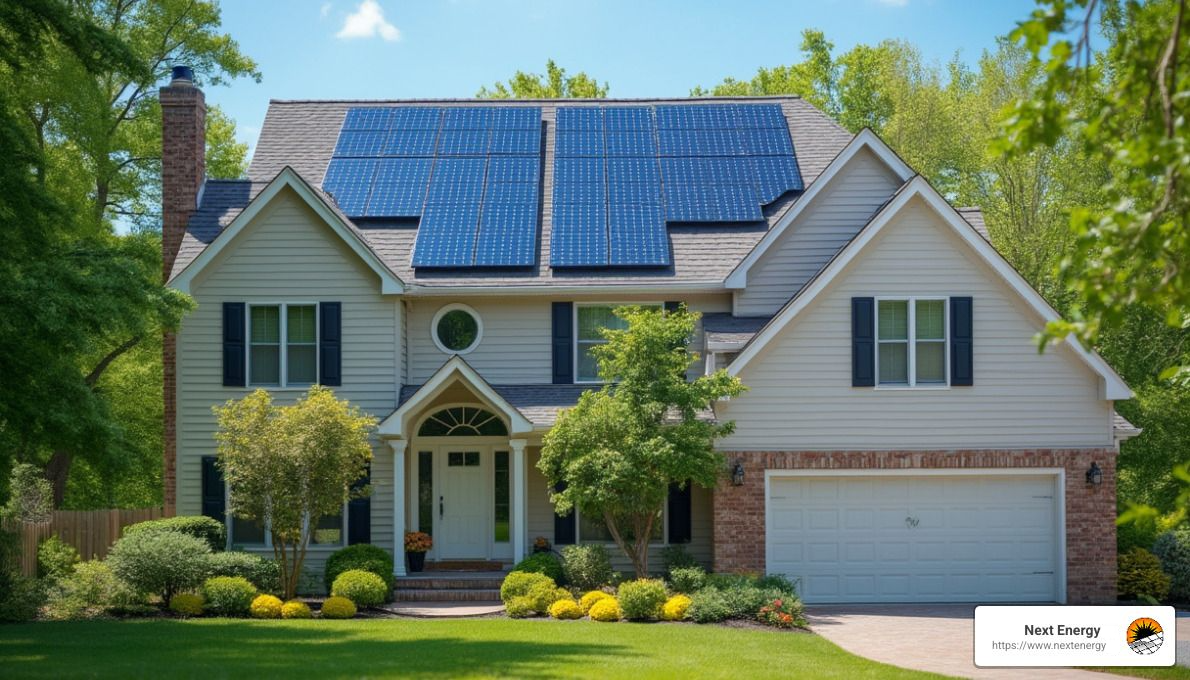
A Complete DIY Solar Panel Installation Guide for Beginners
A Complete DIY Solar Panel Installation Guide for Beginners
A homeowner in Wellington, CO recently called us after trying to install solar panels on their own. They bought a DIY kit online, followed a few YouTube videos, and got everything mounted—only to find out they couldn’t legally connect it to their home’s power supply. Worse, a few minor wiring errors caused the system to trip constantly. The intention was right, but the execution needed guidance.
According to the Solar Energy Industries Association (SEIA), DIY solar installations are on the rise, especially among homeowners looking to save money. But without a clear step-by-step approach, things can get confusing fast. That’s where this guide comes in.
If you’re just getting started and feeling overwhelmed by the parts, tools, or terminology, don’t worry. This DIY solar panel installation guide breaks down the process into seven simple, proven steps anyone in Wellington, CO can follow.
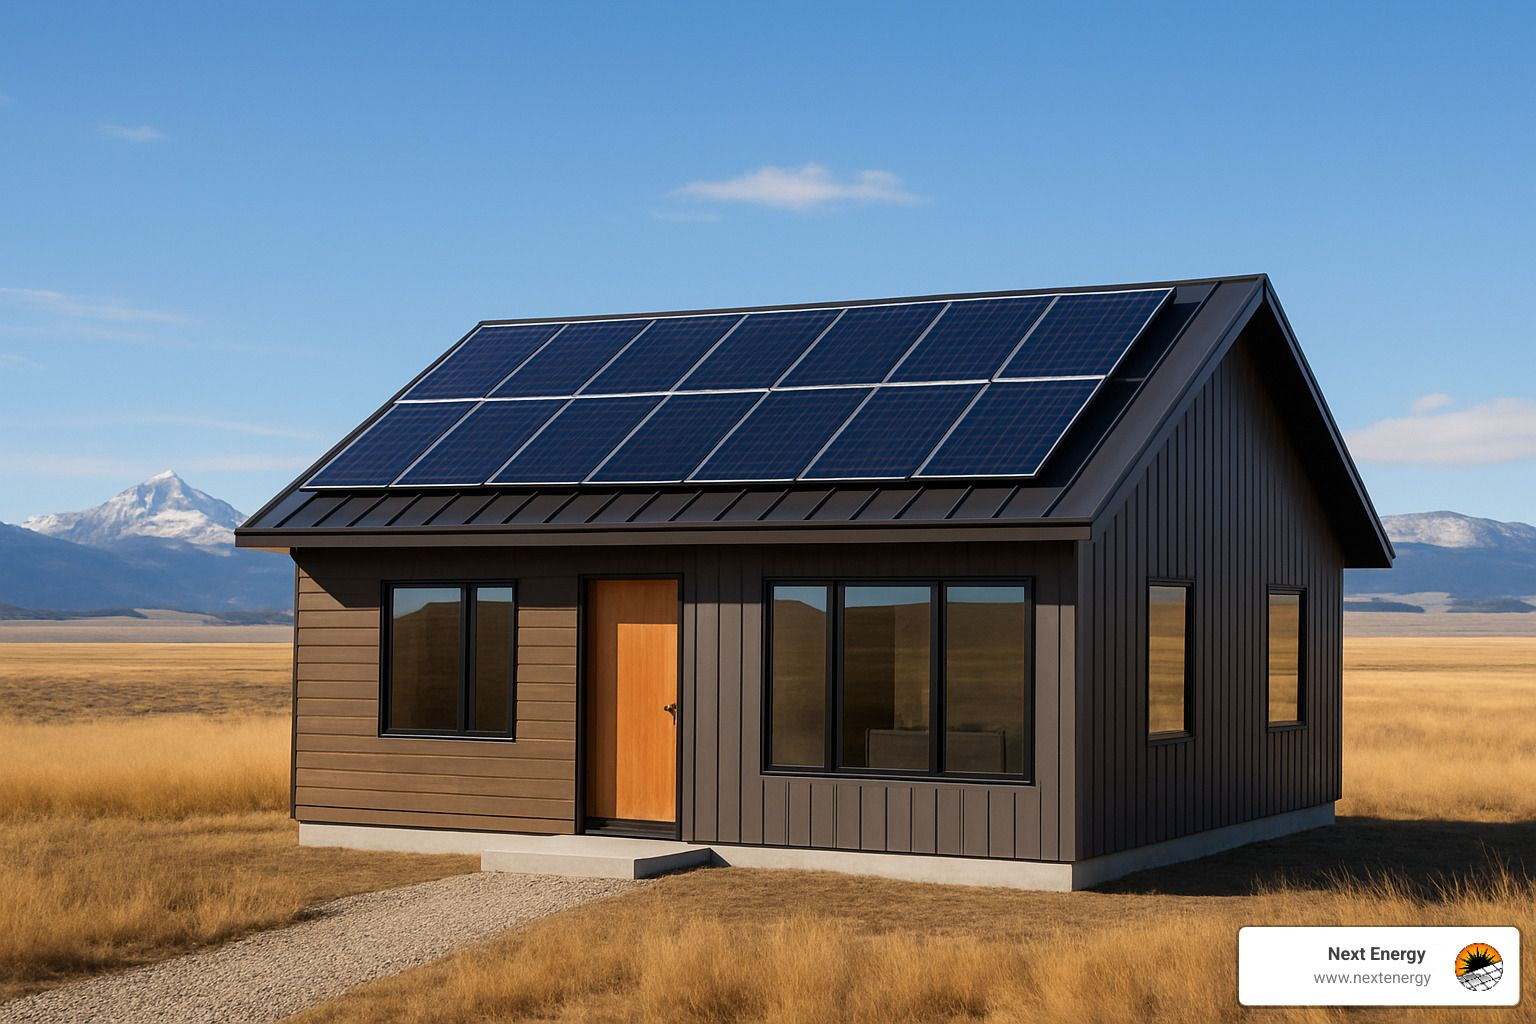
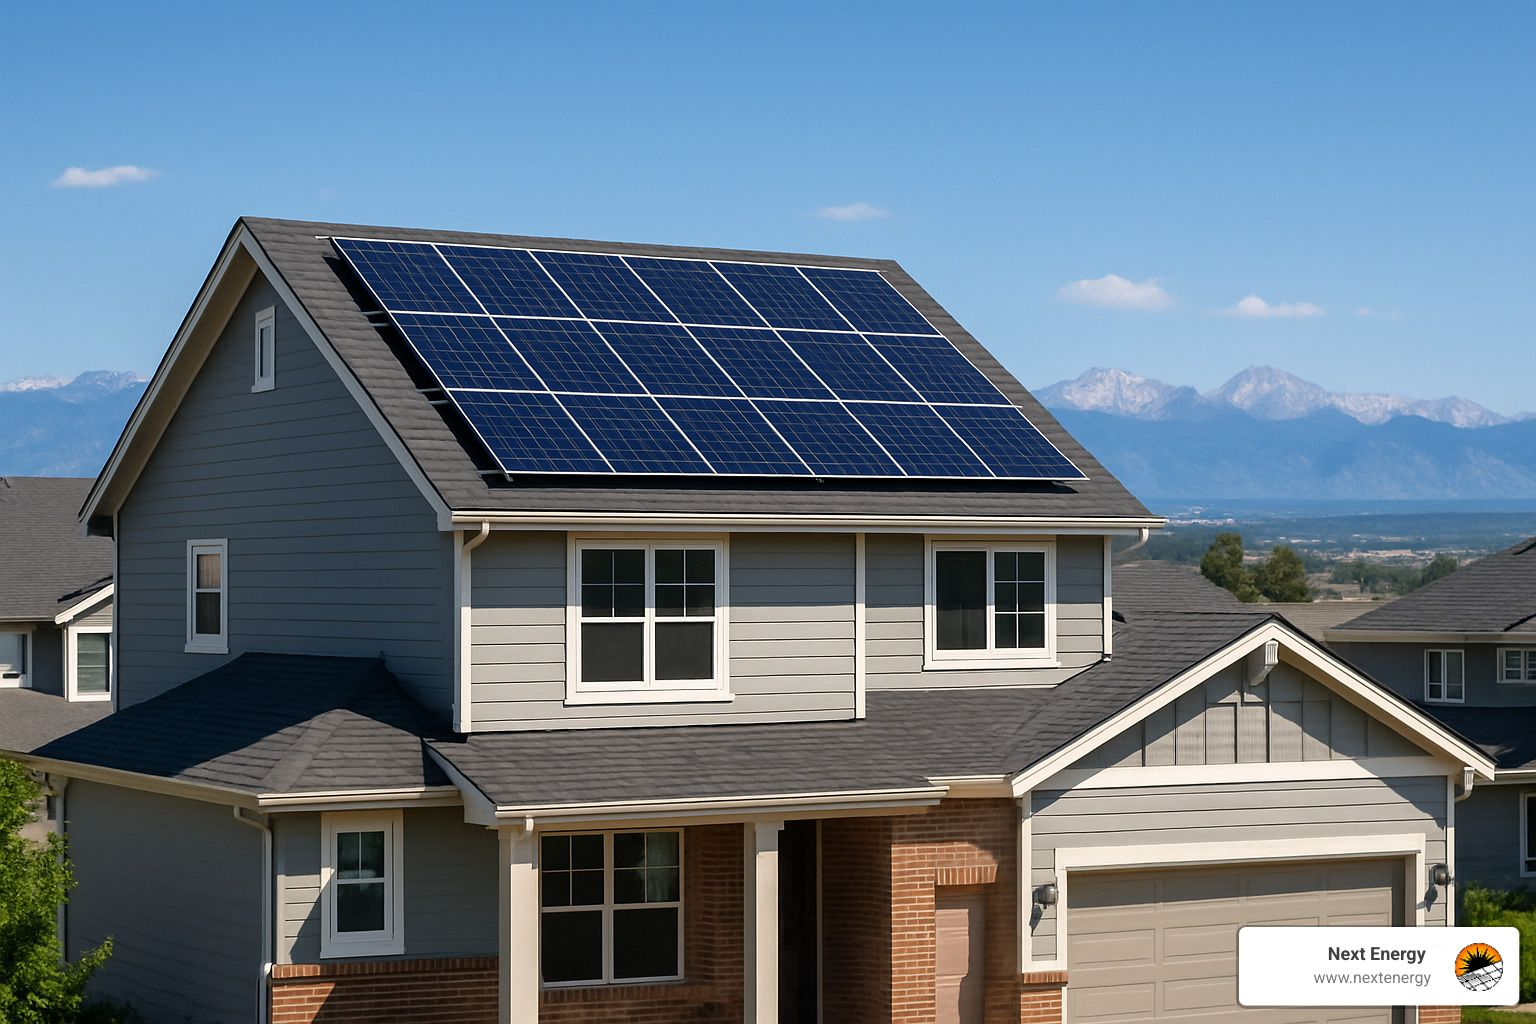
Assess Your Home's Solar Potential
Before you dive into buying equipment or planning a layout, take the time to evaluate if your home is a good fit for solar. This step helps avoid disappointment later and ensures you’re investing in a system that will actually pay off.
Roof Orientation and Shading
In Wellington, CO, the ideal roof faces south to capture the most sunlight throughout the day. East- and west-facing roofs can work, but you may see lower production. Use online tools like Google Project Sunroof or PVWatts to get a basic idea of your sunlight potential.
Check for Obstructions
Pay close attention to nearby trees, tall buildings, chimneys, and even satellite dishes that could create shade. Keep in mind that even slight shading can reduce energy output from all panels in a string.
Structural Integrity
Solar panels are heavy and expected to last 25+ years. If your roof is older or in poor condition, you might need to repair or replace it before installing panels. Consult a roofer if you’re unsure.
Choose the Right Type of Solar System
Now that you know your home can support solar, it’s time to figure out which system fits your lifestyle. There’s no one-size-fits-all approach, and choosing the right setup will influence everything from cost to installation complexity.
Grid-Tied Systems
This is the most popular setup. It connects your panels to the utility grid, so you use solar power during the day and grid power when the sun isn’t shining. You may be eligible for net metering, which gives you credit for extra power you send to the grid.
Off-Grid Systems
These systems operate independently of the utility grid. They require batteries to store power for nighttime use. Off-grid setups are perfect for cabins or remote locations, but they come with higher costs and require careful load planning.
Hybrid Systems
Hybrid setups combine both approaches. You stay connected to the grid but also use batteries to store excess energy. This gives you backup power during outages and more control over your energy usage.
Purchase a DIY Solar Kit or Components
With your system type in mind, it’s time to shop. You can buy pre-bundled DIY kits or source parts individually depending on your confidence level and customization needs.
What to Look For
- Wattage: Choose panels based on your energy needs. A typical home may need between 6,000 to 10,000 watts total.
- Warranty: Choose brands that offer at least 25 years of performance warranty and 10 years on materials.
- Certifications: Make sure all components are UL-listed, and if possible, NABCEP-approved for reliability and safety.
Optional Add-Ons
Consider getting a solar energy monitor to track production, batteries if you're going hybrid or off-grid, and smart inverters that connect to your smartphone for real-time updates.
Secure Permits and Understand Local Regulations
Permits and paperwork might not be the fun part, but they’re essential. Installing a system without approval can lead to fines or having to uninstall your work.
Contact Your Local Authority
Start by visiting your city or county building department. You’ll likely need to submit a solar plan, which includes layout diagrams, structural data, and electrical schematics.
Submit Permit Applications
You’ll typically need an electrical permit and possibly a structural one. Each city is different, so be thorough. Some areas in Colorado allow online permit applications for convenience.
Utility Notification
For grid-tied systems, your utility company will require an interconnection application. This might include a review of your electrical plans, an inspection, and a net metering agreement if offered.
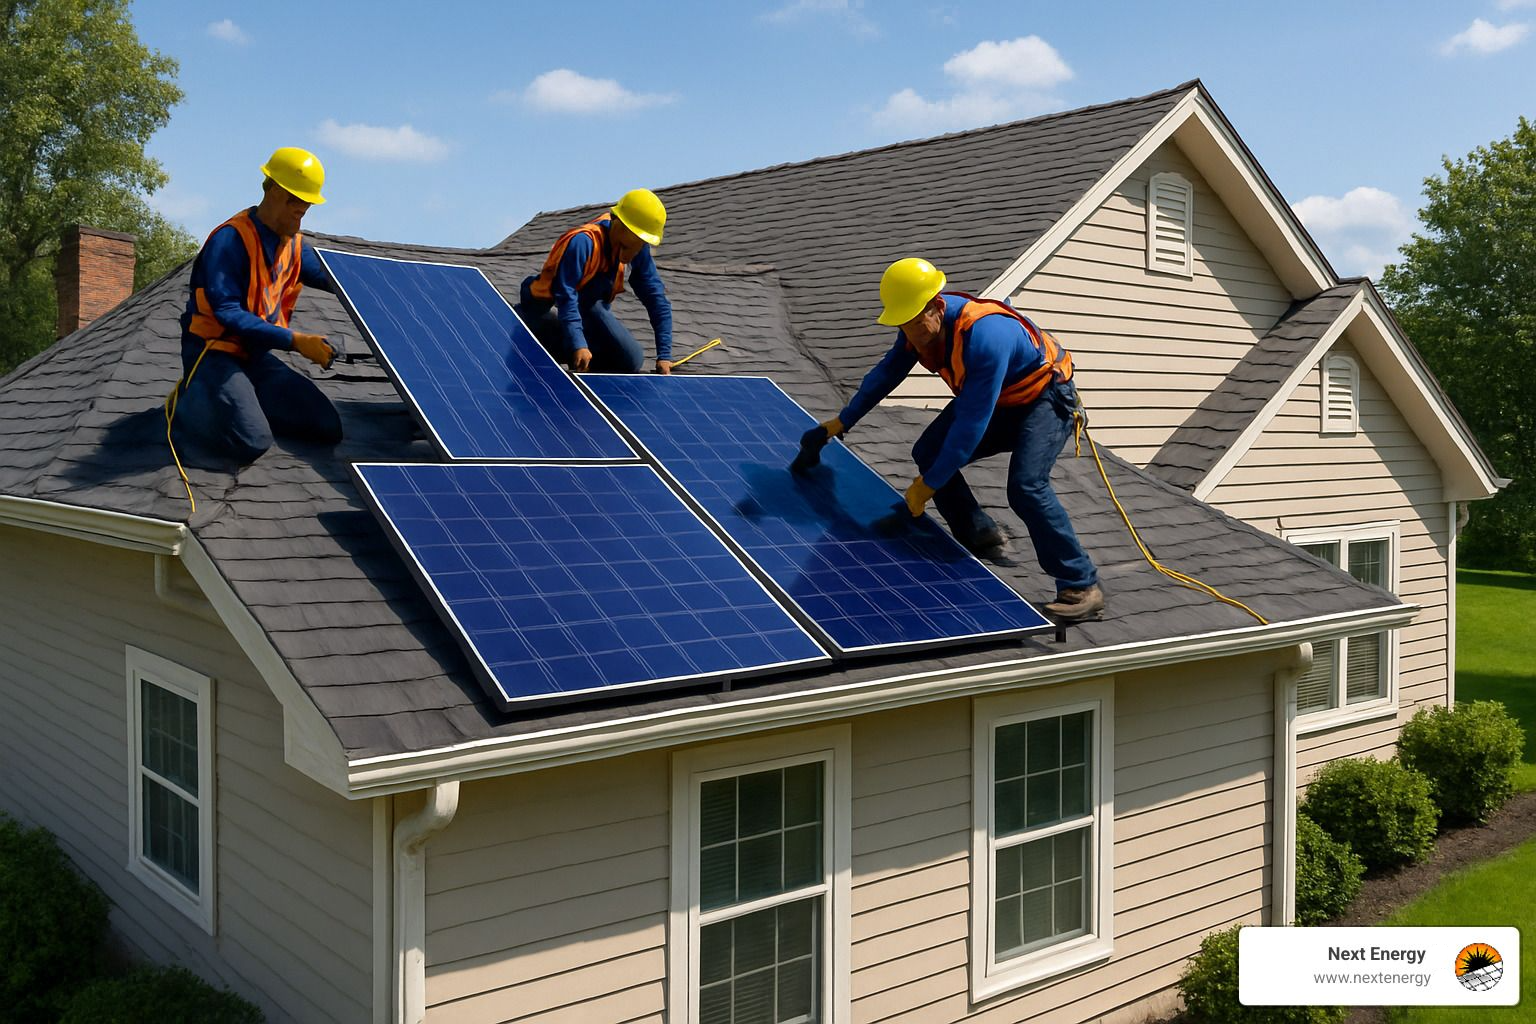
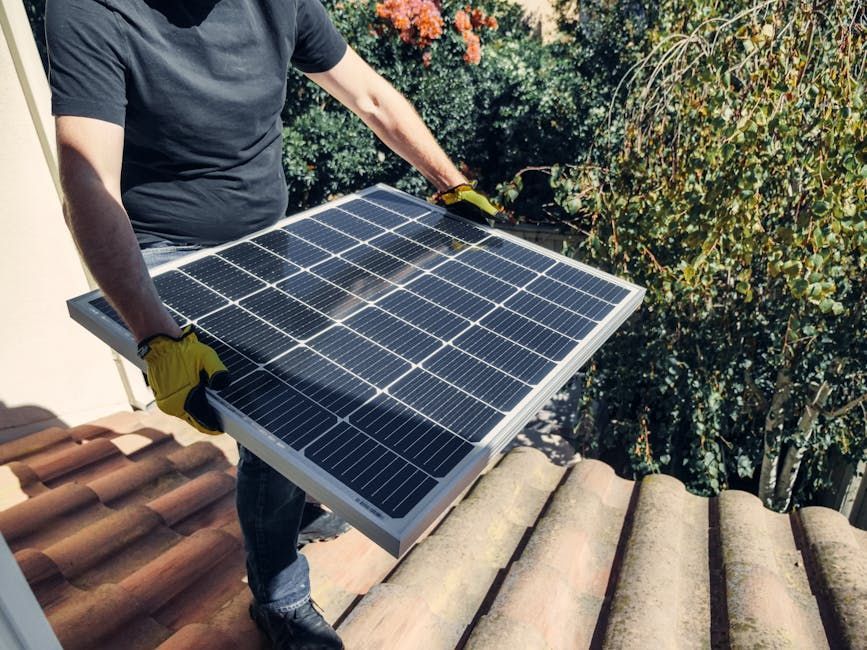
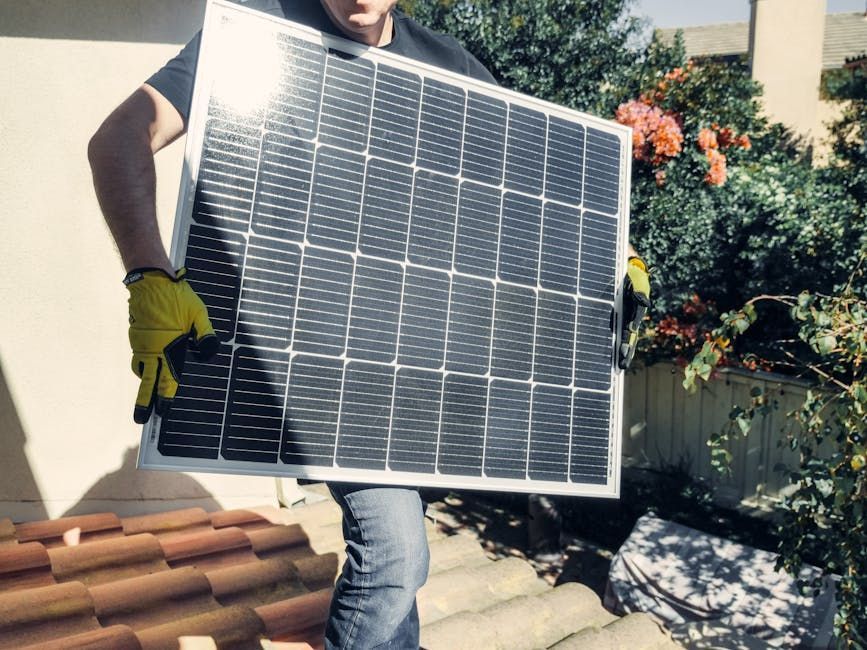
Install Mounting Hardware and Panels
With permits in hand, it's time to install the physical system. This is where your planning turns into real progress, but it also requires patience and attention to detail.
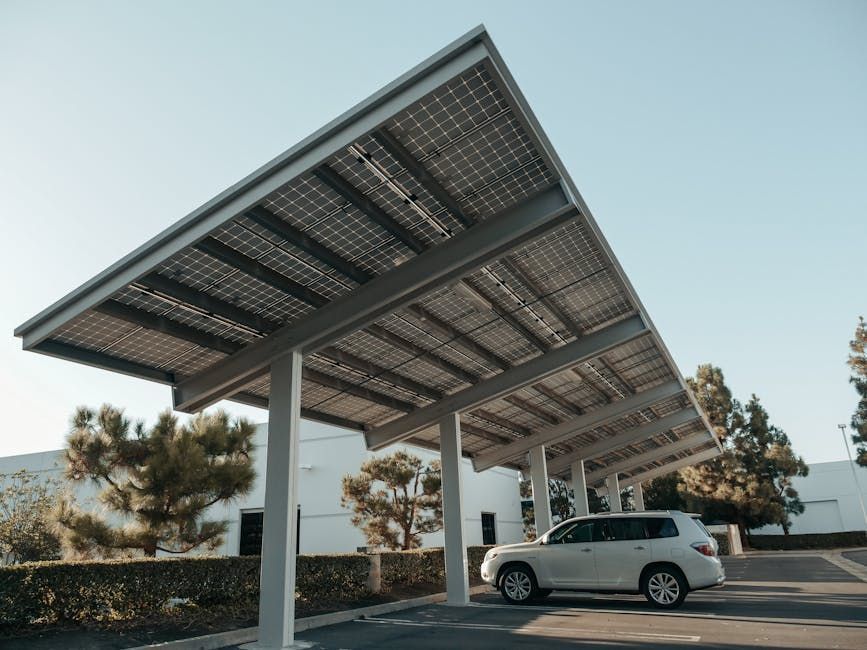
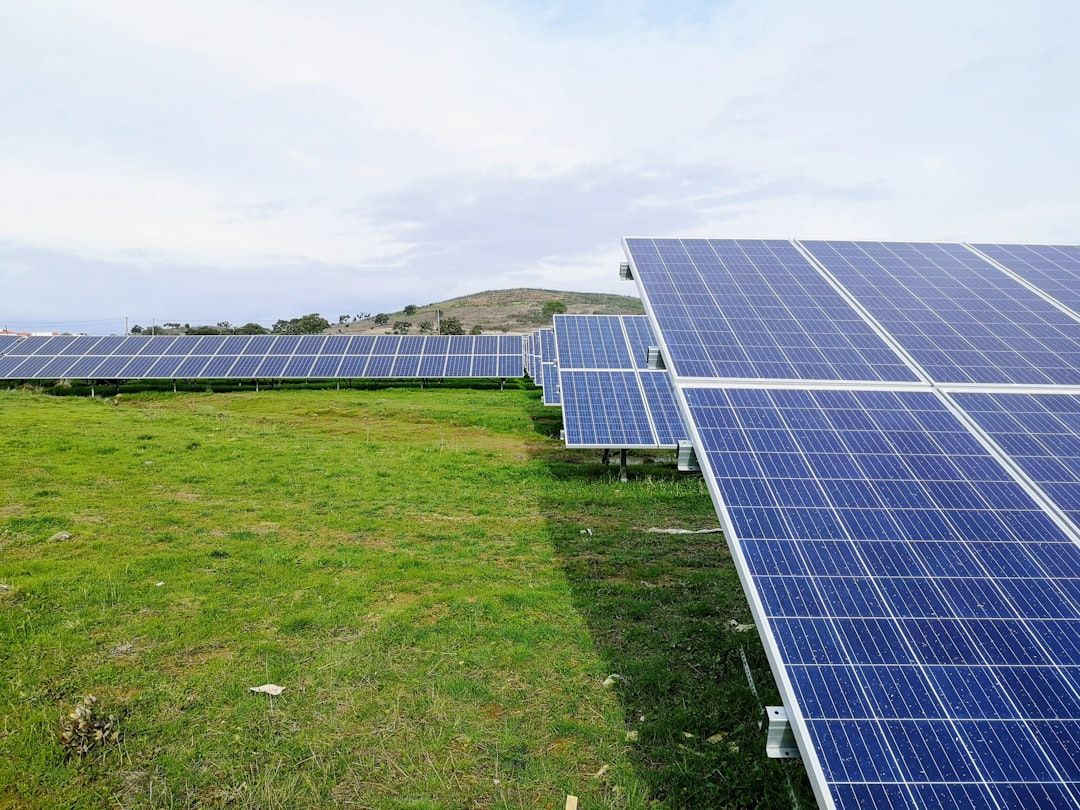
Roof or Ground Mounts
Most homeowners go with roof mounts because they save space and are cost-effective. Ground mounts are easier to maintain and allow for optimal angle adjustments, but they cost more due to extra materials and labor.
Attach Racking System
Carefully measure and mark where your racking will go. Secure the racks to the roof rafters (not just the decking) and use flashing under each bracket to prevent leaks. Check that everything is level before mounting panels.
Mount and Secure Panels
Attach the solar panels to the racks using the clamps included in your kit. Panels should be evenly spaced and secured tightly. Adjust the tilt angle to match your location—around 35 degrees is ideal for Colorado.
Wire Your System and Connect the Inverter
Wiring is critical. Mistakes here can cause system failure, safety hazards, or even void warranties. If you're not comfortable working with electricity, hire a licensed electrician to assist.
Series vs. Parallel Wiring
In a series connection, voltage adds up while current remains constant. In a parallel setup, current adds up but voltage stays the same. Hybrid systems combine both. Choose your wiring method based on your system voltage and inverter requirements.
Connect to Inverter
Once your panels are wired, run the cables through conduit to your inverter. Mount the inverter near your electrical panel for easy access. Use a disconnect switch so you can safely shut off power if needed.
Grounding and Safety
Use a grounding rod or tie into your home’s grounding system. Proper grounding protects your system and home from surges. Double-check that all wire connections are tight and match the polarity.
Test the System and Schedule Final Inspection
With everything installed and wired, it’s time to flip the switch—almost. Final testing and inspection are your last critical steps.
System Test
Turn on the inverter and monitor output. Use the built-in screen or your monitoring app to confirm your system is generating power. Check for error codes or unusual voltage readings.
Local Inspection
Schedule an inspection with your city or county inspector. They will review your work, verify code compliance, and approve your permit. This step is mandatory before connecting to the utility grid.
Utility Approval
Your utility company will perform its own inspection or require final documentation. Once they give you Permission to Operate (PTO), you’re officially live and generating clean power!
Frequently Asked Questions
- How long does a DIY solar installation typically take?
A full DIY install can take anywhere from 2 to 5 weekends depending on your experience, tools, weather, and permit processing time. - Can I install solar panels if my roof is flat?
Yes, flat roofs can accommodate solar panels with tilted mounting systems designed to optimize sun exposure. - What tools will I need for a DIY solar install?
Basic tools include a drill, socket wrench, ladder, multimeter, safety harness, wire stripper, and a level. Specialized tools may be required depending on your mounting system. - Will DIY solar installation affect my home insurance?
It could—some insurers require notification or inspection for coverage. Always inform your provider to ensure your system is covered under your policy.
How Next Energy AI Can Help You
DIY solar sounds exciting, but it comes with a learning curve. At Next Energy AI, we help homeowners in Wellington, CO do it right—from planning to installation.
Here’s how we can support your project:
- Pre-installation site evaluation and design help
- High-quality solar kits tailored to your roof and budget
- Electrical wiring support and safety inspections
- Permit help and utility paperwork
- Full-service upgrade options if DIY turns out too complex
We want you to succeed whether you go fully DIY or call in our team.
Call Next Energy AI today at 970 800 6398 or stop by 6880 N. Franklin Ave. Loveland, CO 80538 to talk about your solar project. We make clean energy simple—even when you’re doing it yourself.